Effective techniques for how to prepare walls for painting include cleaning surfaces with mild detergent, repairing any holes or cracks, and sanding the walls for a smooth finish. After completing these repairs, you should apply a quality primer to ensure the paint adheres correctly and provides a long lasting result. This comprehensive preparation is critical for achieving a professional finish in Utah homes, where surface integrity determines the overall quality of the job.
Most homeowners view a fresh coat of paint as a quick weekend project, but they often overlook the hidden flaws that ruin a finish. Whether it is a stubborn hairline crack or a patch of grease in the kitchen, these minor imperfections become glaringly obvious once the topcoat dries. At Keith Painting, we know that a truly professional result is ninety percent preparation and only ten percent application. Skipping the foundational steps leads to peeling and uneven texture; this is particularly true in the unique, arid climate of Utah where dust and dry air frequently affect paint adhesion. This guide provides an expert walkthrough of the entire preparation process. You will learn how to protect your workspace, clean surfaces for maximum durability, and repair common wall damage. We also detail the correct techniques for sanding and priming to ensure your home receives the sophisticated finish it deserves.
Why Wall Preparation Is 90 Percent of a Professional Finish
A flawless finish is the goal of any homeowner, but the secret to achieving it does not actually involve the paint itself. While the final coat is the most visible element, the longevity and quality of the finish depend entirely on what happens before the lid is popped. At Keith Painting, we approach every project with the understanding that preparation is the foundation of a long lasting result.
This meticulous approach is particularly vital here in Carbon County. In towns like Price and Helper, our local climate features significant seasonal temperature shifts and a characteristic lack of humidity. These conditions can be harsh on exterior and interior surfaces alike. If the substrate is not correctly cleaned, repaired, and primed, the paint will struggle to bond. Over time, this poor adhesion leads to peeling, bubbling, and cracking as the building materials expand and contract with the weather.
When we provide residential and commercial painting services, we spend the vast majority of our time on site addressing these hidden details. Understanding how to prepare walls for painting is about more than just clearing the room; it is a technical process of ensuring the surface is chemically and physically ready to accept a new coating. You can read more about our commitment to quality to see how this focus on durability protects your investment.
Step 1: Setting Up Your Workspace and Protecting Your Home
Before you ever open a paint can, you must establish a controlled work environment. This begins with clearing at least three feet of workspace from every wall. This clearance is not just for ease of movement; it allows for consistent roller pressure and a uniform angle of application, which prevents visible lap marks or uneven texture across the surface.
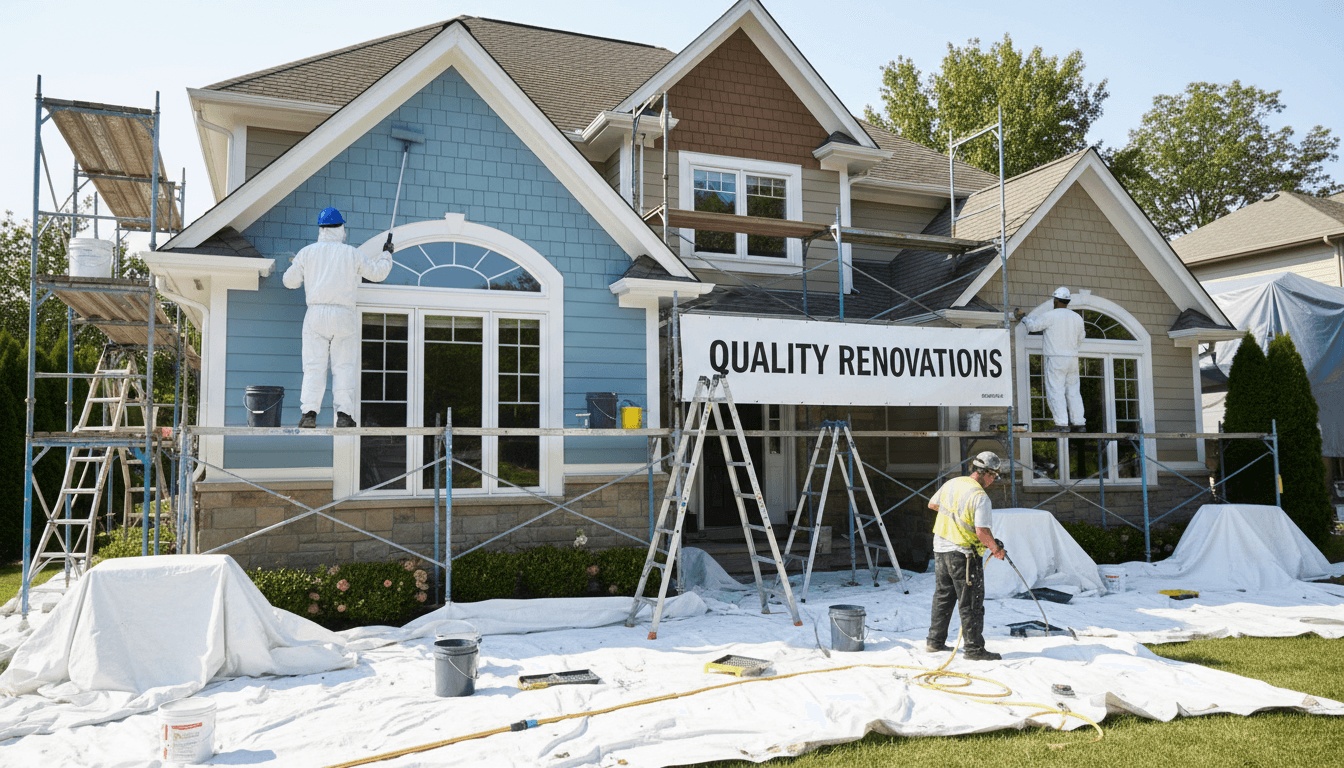
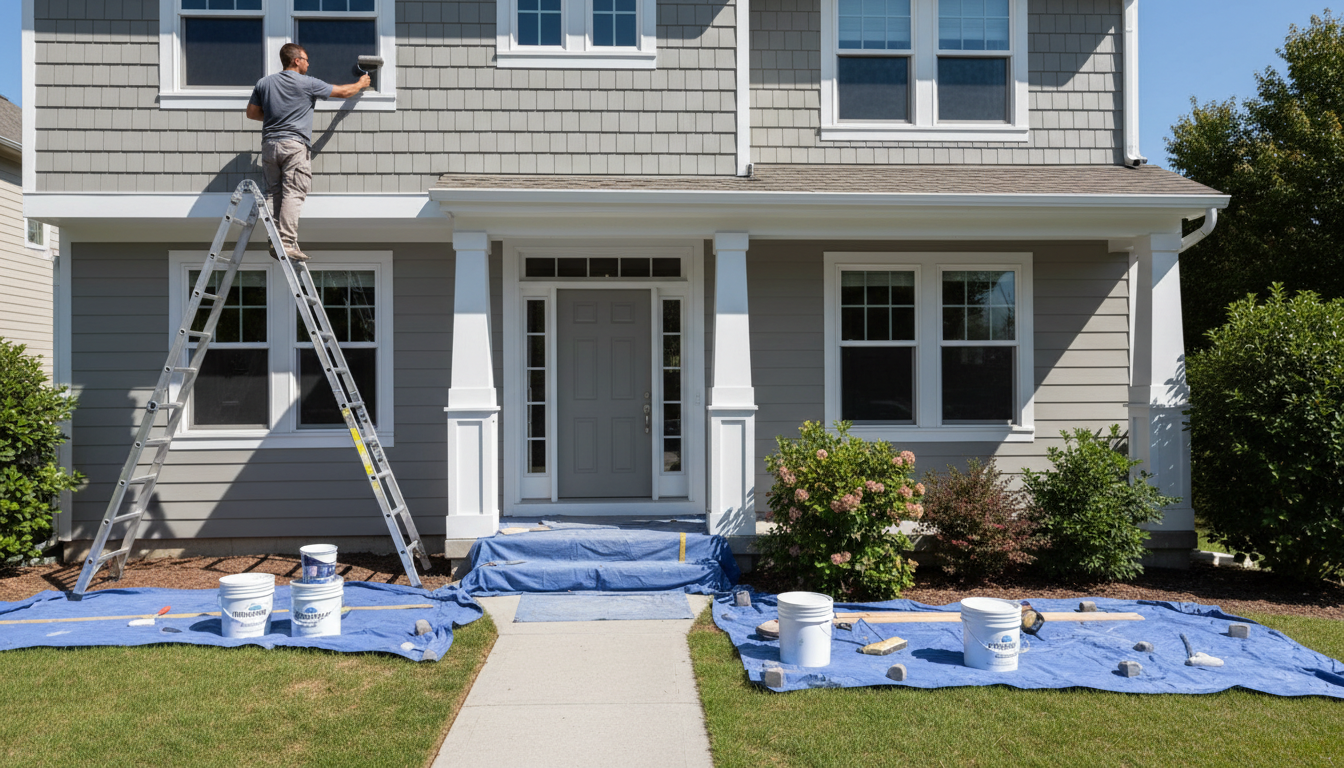
Protecting your property requires a two-tiered approach. Use heavyweight canvas drop cloths for all flooring surfaces. Unlike thin plastic, canvas stays in place, absorbs drips, and provides a slip-resistant surface for ladders. For furniture, move items to the center of the room and cover them with thin plastic sheeting, sealing the edges with painter’s tape to prevent dust intrusion during the sanding phase.
One of the most common DIY mistakes is taping around outlets and switches. For a truly professional look, remove all switch plates, outlet covers, and window hardware entirely. Taping around these items often leaves a small gap or a ridge of paint that can peel later. Place all screws and plates in a labeled bag to keep them organized. If you are unsure about the scope of your project, you can get a free painting estimate to understand the professional requirements for your specific space.
Step 2: Cleaning and Degreasing for Maximum Adhesion
Once the room is secured, you must address the invisible barriers to adhesion. In the arid environment of Carbon County, fine dust settles on every surface, often bonding with airborne kitchen oils or fingerprints in high traffic areas. A quick wipe with a plain damp cloth is rarely sufficient for a professional grade bond. To effectively remove these contaminants, use a solution of warm water mixed with a mild detergent or, for heavier buildup, a TSP (trisodium phosphate) substitute. TSP substitutes are excellent for cutting through stubborn grease in kitchens and removing the waxy residues that accumulate near light switches and door frames.
Working from the bottom of the wall upward prevents dirty water from running down and permanently marking dry, porous areas. If you encounter dark spots or discolored patches in bathrooms or laundry rooms, you are likely dealing with mildew. Addressing mold or mildew requires a specific treatment before any paint is applied. Mix one part household bleach with three parts water and scrub the affected area until the spores are neutralized. Failure to kill these organisms will result in them growing back through your new coat of paint within months.
After washing, rinse the walls with clean water to remove any soapy residue. The surface must be completely dry before you move on to repairs. This cleaning phase is one of the most overlooked aspects of residential and commercial painting services, yet it is the primary reason why DIY projects often suffer from premature peeling. Ensuring a chemically clean surface allows the paint to fuse directly to the substrate rather than sitting on top of a layer of Utah dust.
Step 3: Repairing Surface Imperfections and Damage
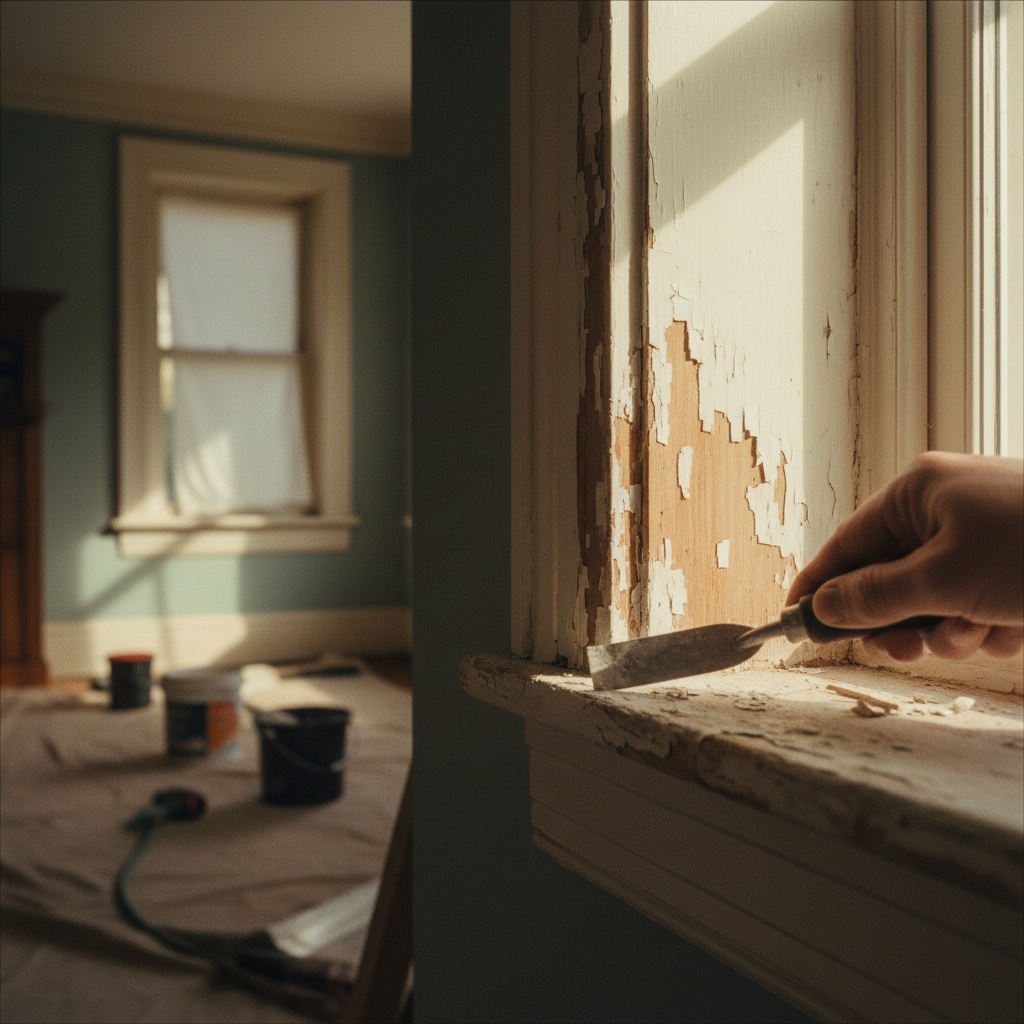
Once the surface is clean and dry, you must address physical defects. Learning how to prepare walls for painting involves identifying the correct filler for the specific damage. For small nail holes or minor scuffs, a lightweight spackling paste is usually sufficient. However, for larger dents, deep gouges, or seams following a new drywall installation, professional grade joint compound is required for its superior structural integrity and lower shrinkage rates.
If you have recently removed wallpaper, inspect the wall for remaining adhesive or torn drywall paper. These areas must be sealed with a specialized primer before patching, or the moisture in the repair compound will cause the paper to bubble. For residents in historic sections of Price or Helper, pay close attention to the substrate. Older homes in Carbon County often feature lath and plaster walls. Unlike modern drywall, plaster can delaminate from the lath, creating hollow spots or hairline cracks that reappear if not correctly stabilized. Inspect for loose layers or crumbling sections that need to be removed down to the solid base before patching.
Achieving a seamless repair requires a technique known as feathering. Apply the patching material with a putty knife, then pull the knife outward from the center of the patch with increasing pressure. This thins the edges of the compound so they blend into the surrounding wall. For larger repairs, apply multiple thin layers rather than one thick one. This method is a staple of our residential and commercial painting services, ensuring that once the topcoat is applied, the repair is invisible to the eye. If your walls require extensive restoration, you can get a free painting estimate to see how our team handles complex substrate repairs.
Step 4: The Professional Approach to Sanding
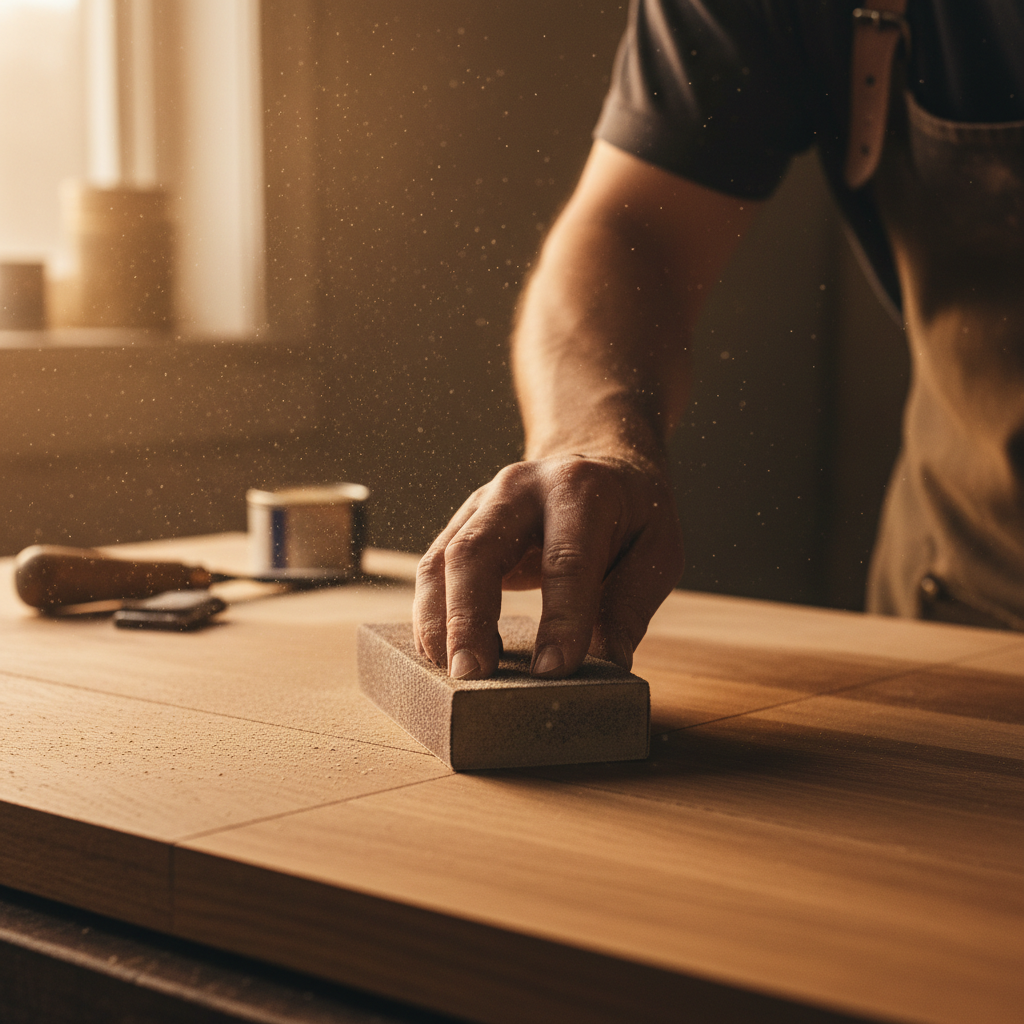
Once your repairs are fully cured, the next phase in learning how to prepare walls for painting is sanding. Many homeowners assume that if a wall feels smooth, they can skip this step, but sanding serves a mechanical purpose beyond just leveling patches. It serves to de-gloss the existing finish. This process creates a microscopic tooth on the surface, allowing the new coating to bite into the old layer rather than simply sitting on top of it.
For most interior surfaces, 120-grit sandpaper is the professional standard. It is abrasive enough to smooth out old roller stipple and dried drips without gouging the drywall. If you are working on cabinetry, high-sheen trim, or fine-finish areas, follow up with 220-grit sandpaper. This finer grit polishes the surface to a level of smoothness that reflects our about our commitment to quality. Using a sanding pole for large wall sections is recommended to maintain even pressure and prevent the waves or indentations that often result from localized hand-sanding.
### Managing Dust for a Clean Finish Sanding generates a significant amount of fine particulate that can ruin an otherwise perfect paint job. Preparing walls for painting after sanding is just as important as the sanding itself. If you paint over this dust, it will incorporate into the wet film, resulting in a gritty, sandpaper-like texture once dry.
Use a vacuum with a soft brush attachment to remove the bulk of the dust from the walls, baseboards, and ceiling corners.
Follow this with a damp microfiber cloth or a specialized tack cloth to capture remaining particles.
Wipe the surface until no residue appears on your hand when you touch the wall.
A tack cloth is particularly effective because its slightly resinous surface picks up the smallest fragments that a vacuum might miss. Ensuring the substrate is completely dust-free is a hallmark of high-quality residential and commercial painting services.
Step 5: How to Prepare Walls for Painting Over Old Paint
A common point of confusion for homeowners is whether they can simply apply a new color directly over the old layer. While you can often paint over existing finishes, you must first verify the integrity of the substrate. Perform a scratch test by using a sharp utility knife to cut a small X into the old paint in an inconspicuous area. Cover the X with a piece of strong tape, then pull it off quickly. If the paint flakes or peels away at the edges of the cut, the original bond has failed. Painting over a failing surface is a waste of materials, as your new coat will eventually pull the old layer off the wall entirely.
Transitioning between sheens requires specific technical attention. If you are applying a matte or eggshell finish over an existing semi-gloss or high-gloss paint, sanding is non-negotiable. The smooth, non-porous nature of glossy paint prevents new layers from bonding. You must dull that shine to create the necessary tooth. Furthermore, you must identify if the old layer is oil-based or water-based. Adding modern water-based latex over an old oil-based coating without a specialized transitional primer will cause the new paint to peel off in sheets. You can test this by rubbing a small area with a cotton ball soaked in denatured alcohol; if paint rubs off onto the cotton, it is water-based. If it does not, you are dealing with oil. This level of technical scrutiny is a standard part of our residential and commercial painting services, ensuring that every layer remains stable despite Carbon County's temperature swings. If you are unsure what is currently on your walls, you can get a free painting estimate to have a professional evaluate your surfaces.
Step 6: Choosing and Applying the Right Primer
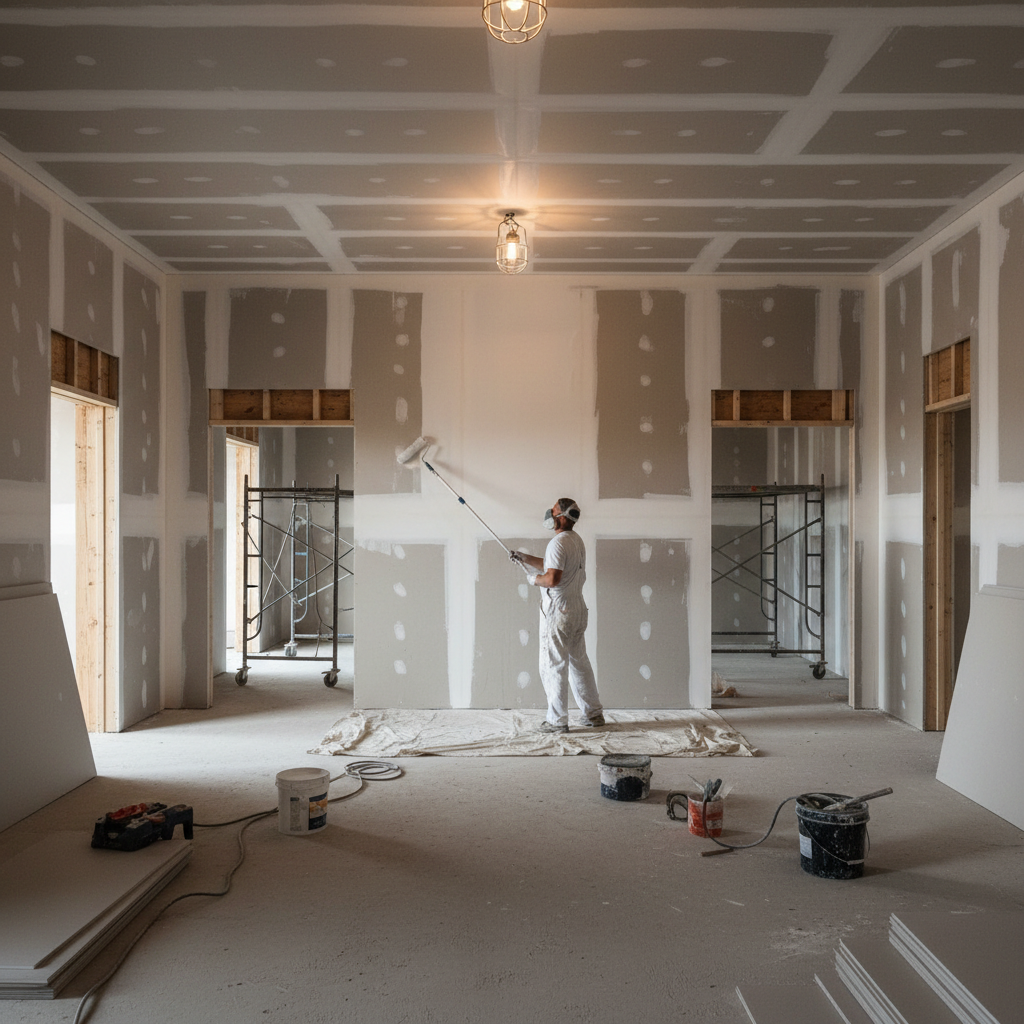
Priming acts as the essential bonding agent that ensures your topcoat looks uniform and rich. In new construction, fresh drywall is incredibly porous; without a dedicated sealer, the paper and mud will soak up the paint at different rates, leading to a blotchy appearance known as flashing. Using a primer creates a consistent surface tension and porosity across the entire substrate, which is a vital part of learning how to prepare walls for painting properly.
Selecting the correct product depends on the wall's history and the intended goal. Use a stain-blocking primer to seal old water damage, smoke stains, or localized repairs where joint compound was used, as these areas often bleed through standard paint. If you are attempting a dramatic color shift, a high-hide primer provides the opacity needed to neutralize the old pigment, saving you from applying unnecessary extra coats of expensive finish paint.
In Carbon County, our characteristic low humidity significantly accelerates drying times. This environment requires a steady hand and efficient application. If the product is applied too slowly, the edges of the primer will set before they can be overlapped, resulting in visible lap marks that translate through to the final coat. High-quality residential and commercial painting services prioritize maintaining a wet edge during this phase. Our about our commitment to quality means we use specific application techniques that account for the Utah climate. If you are dealing with difficult stains or new drywall, you can get a free painting estimate to ensure the right foundation is laid for your project.
Common Wall Preparation Mistakes to Avoid
Even the most expensive paint cannot compensate for technical errors during the initial stages. One of the most frequent mistakes in learning how to prepare walls for painting is skipping the cleaning step. Homeowners often assume a wall looks clean, but invisible oils and fine Carbon County dust will prevent the paint from bonding, leading to premature failure. Another common error involves using low-quality masking tape or leaving tape on the surface for too long. This results in ragged edges or pulled paint when the tape is finally removed.
Precision is also required when timing your coats. Applying primer or paint over damp patches, such as joint compound that has not fully cured or walls that are still wet from cleaning, traps moisture. This causes bubbling and eventually leads to peeling. Furthermore, if you find yourself overworking the paint, struggling to get it to flow smoothly, it is often a symptom of poor preparation. A dirty or overly porous surface makes the paint drag rather than glide, forcing you to brush over the same spot repeatedly and ruining the texture. Professional residential and commercial painting services eliminate these risks by following a strict, verified sequence of events. Avoiding these pitfalls requires patience and a technical eye. If you want to ensure your project bypasses these common setbacks, you can get a free painting estimate to see how a professional team manages every detail.
Proper wall preparation is the foundation of any long-lasting paint job. By taking the time to patch, sand, and prime correctly, you ensure a finish that looks professional and stands up to the Utah climate. While DIY prep is rewarding, the process can be time-consuming and physically demanding. If you want expert help to ensure your home looks its absolute best, you can learn more about our team and values to see how we handle every detail with care.